基于hive的电信用户数据分析及可视化
舟率率 11/11/2025 pythonredisflaskjavadatax
# 项目概况
# 数据类型
电信用户模拟数据
# 开发环境
centos7
# 软件版本
python3.8.18、hadoop3.2.0、hive3.1.2、mysql8.0.41、jdk8、redis6.2.9、datax3.0
# 开发语言
python、Java、shell、SQL
# 开发流程
数据生成(java)->数据上传(hdfs)->数据分析(hive)->数据存储(mysql)->后端(flask)->前端(html+js+css)
# 可视化图表

# 操作步骤
# python安装包
pip3 install pandas==2.0.3 -i https://pypi.tuna.tsinghua.edu.cn/simple/
pip3 install flask==3.0.0 -i https://pypi.tuna.tsinghua.edu.cn/simple/
pip3 install flask-cors==4.0.1 -i https://pypi.tuna.tsinghua.edu.cn/simple/
pip3 install pymysql==1.1.0 -i https://pypi.tuna.tsinghua.edu.cn/simple/
pip3 install pyecharts==2.0.4 -i https://pypi.tuna.tsinghua.edu.cn/simple
1
2
3
4
5
6
7
2
3
4
5
6
7
# 启动MySQL
# 查看mysql是否启动 启动命令: systemctl start mysqld.service
systemctl status mysqld.service
# 进入mysql终端
# MySQL的用户名:root 密码:123456
# MySQL的用户名:root 密码:123456
# MySQL的用户名:root 密码:123456
mysql -uroot -p123456
1
2
3
4
5
6
7
8
9
2
3
4
5
6
7
8
9
# 启动Hadoop
# 离开安全模式: hdfs dfsadmin -safemode leave
# 启动hadoop
bash /export/software/hadoop-3.2.0/sbin/start-hadoop.sh
1
2
3
4
5
2
3
4
5

# 准备目录
# 准备redis的目录
mkdir -p /export/software/optlog/redis/log/
mkdir -p /export/software/optlog/redis/data/
# 创建数据生成目录
mkdir -p /data/jobs/project/log/behavior/

cd /data/jobs/project/

# 上传 "project-telecom-user-data-analysis" 目录下的 "所有" 文件/文件夹 到 "/data/jobs/project/" 目录
# 上传 behavior-0.0.1-SNAPSHOT.jar 文件到 "/data/jobs/project/" 目录
# 上传 commons-pool2-2.6.2.jar 文件到 "/data/jobs/project/" 目录
# 上传 fastjson2-2.0.1.jar 文件到 "/data/jobs/project/" 目录
# 上传 hive_udf_custom.jar 文件到 "/data/jobs/project/" 目录
# 上传 jedis-3.3.0.jar 文件到 "/data/jobs/project/" 目录
1
2
3
4
5
6
7
8
9
10
11
12
13
14
15
16
2
3
4
5
6
7
8
9
10
11
12
13
14
15
16
# 项目打包
cd /data/jobs/project/资料/源码/hive_udf_custom/
mvn clean package -Dmaven.test.skip=true
yes | cp target/hive_udf_custom.jar /data/jobs/project/

cd /data/jobs/project/资料/源码/behavior/
mvn clean package -Dmaven.test.skip=true
yes | cp target/behavior-0.0.1-SNAPSHOT.jar /data/jobs/project/
1
2
3
4
5
6
7
8
9
2
3
4
5
6
7
8
9
# 迁移文件
cd /data/jobs/project/

# 迁移文件
sed -i 's/\r//g' copy_file.sh
bash copy_file.sh

# 准备udf
hdfs dfs -mkdir -p /spark/jars/
hdfs dfs -put -f /export/software/apache-hive-3.1.2-bin/lib/hive_udf_custom.jar /spark/jars/
1
2
3
4
5
6
7
8
9
10
11
2
3
4
5
6
7
8
9
10
11
# 启动redis
redis-server /export/software/redis-6.2.9/redis.conf
1
2
3
2
3
# 启动数据生成程序
cd /data/jobs/project/

# 启动行为日志程序
java -jar /data/jobs/project/behavior-0.0.1-SNAPSHOT.jar
1
2
3
4
5
6
2
3
4
5
6
# 数据生成
# 在网页中访问
curl -l "http://master:5173/create/log?date=2025-11-07&count=1000"
curl -l "http://master:5173/create/log?date=2025-11-08&count=1000"
curl -l "http://master:5173/create/log?date=2025-11-09&count=1000"
curl -l "http://master:5173/create/log?date=2025-11-10&count=1000"

cd /data/jobs/project/log/behavior/
hdfs dfs -mkdir -p /behavior/origin/log/2025-11-07/
hdfs dfs -mkdir -p /behavior/origin/log/2025-11-08/
hdfs dfs -mkdir -p /behavior/origin/log/2025-11-09/
hdfs dfs -mkdir -p /behavior/origin/log/2025-11-10/

hdfs dfs -put -f behavior2025-11-07.log /behavior/origin/log/2025-11-07/
hdfs dfs -put -f behavior2025-11-08.log /behavior/origin/log/2025-11-08/
hdfs dfs -put -f behavior2025-11-09.log /behavior/origin/log/2025-11-09/
hdfs dfs -put -f behavior2025-11-10.log /behavior/origin/log/2025-11-10/
# 验证结果
hdfs dfs -ls /behavior/origin/log/
1
2
3
4
5
6
7
8
9
10
11
12
13
14
15
16
17
18
19
20
2
3
4
5
6
7
8
9
10
11
12
13
14
15
16
17
18
19
20
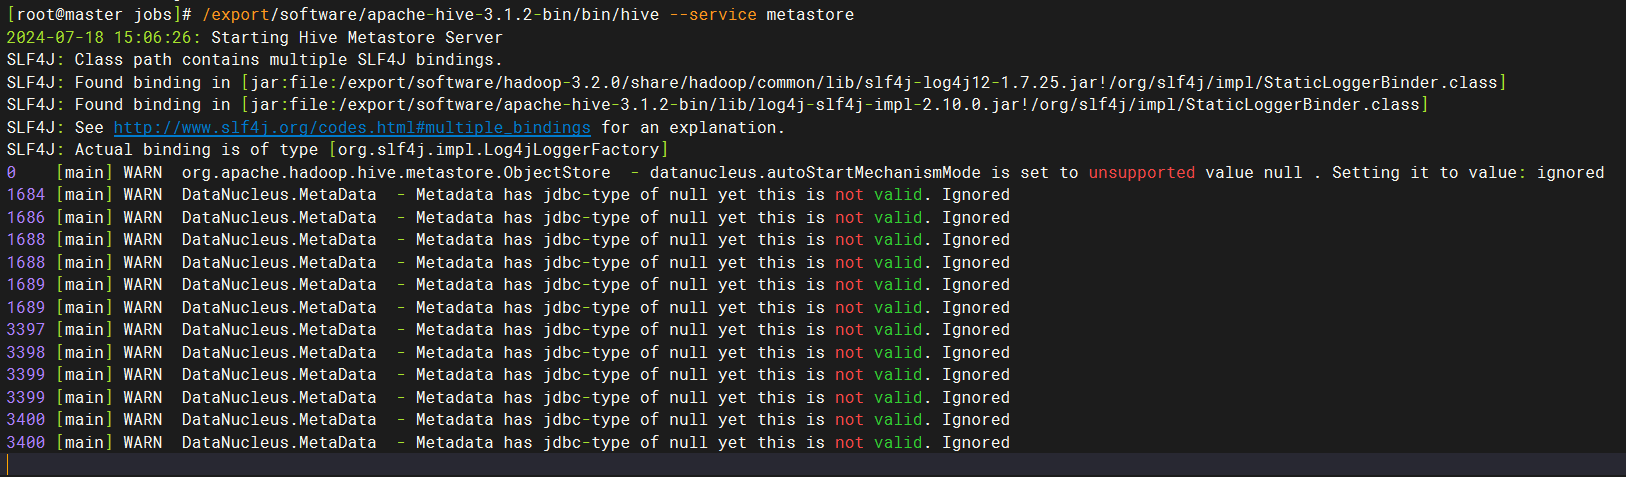
# 启动hive
# 在第一个窗口中,执行后等待10-20秒
/export/software/apache-hive-3.1.2-bin/bin/hive --service metastore

# 在第二个窗口中,执行后等待10-20秒
/export/software/apache-hive-3.1.2-bin/bin/hive --service hiveserver2

# 连接进入hive终端命令如下:
# /export/software/apache-hive-3.1.2-bin/bin/beeline -u jdbc:hive2://master:10000 -n root
1
2
3
4
5
6
7
8
9
10
2
3
4
5
6
7
8
9
10

# hive数据分析
cd /data/jobs/project/

hive -v -f ods.sql
hive -v -f dwd.sql
hive -v -f dim.sql
hive -v -f dws.sql
hive -v -f ads.sql
1
2
3
4
5
6
7
8
9
2
3
4
5
6
7
8
9
# 创建MySQL表
cd /data/jobs/project/

# 请确认mysql服务已经启动了
# 快速执行.sql文件内的sql语句
mysql -u root -p123456 < mysql.sql
1
2
3
4
5
6
7
2
3
4
5
6
7
# 数据导入MySQL
cd /data/jobs/project/

sed -i 's/\r//g' datax.sh
bash datax.sh
1
2
3
4
5
6
2
3
4
5
6
# 启动可视化
cd /data/jobs/project/myapp/

# 请关闭日志生成程序 !!!
# 请关闭日志生成程序 !!!
# 请关闭日志生成程序 !!!
# 请关闭日志生成程序 !!!

# windows本地运行: python app.py
python3 app.py pro
1
2
3
4
5
6
7
8
9
10
11
2
3
4
5
6
7
8
9
10
11